Overview
Hello everyone, it's been almost 2 months since the last computer graphics chronicle. During this time, I've made some progres in my projects, but I've also made some important decisions regarding how I plan to continue with this series. First of all, I decided to archive for the time being my journey into shaders project. I realized that I was really dragging it out because I felt like I was just watching a bunch of tutorials that I probably won't be applying anytime soon.
The second change is that I'm going to be dedicating less time to this series and to all of my computer graphics projects. Until recently, these were my main "free time" projects. However, I recently decided to focus most of my free time that I dedicate to projects to video game development. I will probably share more about those projects in their own blog posts when the time is right. Meanwhile, I'll continue writing this computer graphics chronicle whenever I finish the next part of each of my journeys. Hopefully, this will happen every couple of weeks but sometimes it might take a bit longer.
Anyways, with this news out of the way, let's get into the progress I made!
My Journey into Computer Graphics
Reading materials
To make things go smoother in this project, I decided that I'm going to finish reading all of the material even if I don't apply the theory right away. This will allow me to get at least an introduction to all of the basic concepts, which was the initial goal of this journey. I finished reading The Graphics Codex and I will finish the rest of the books so that I only have to focus on the implementation part. The books that I still have to finish are:
Raytracing From the Ground Up
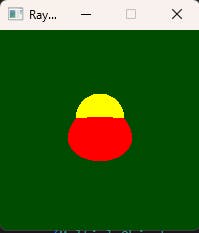
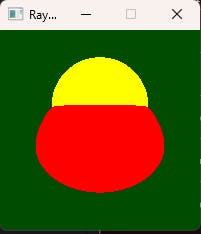
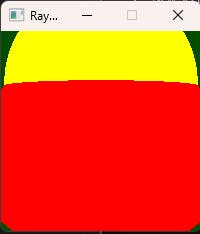
For the implementation part of this project, I will continue to read and complete the exercises from Ray Tracing from the Ground Up. This time, I completed the viewing system chapter where I had to implement a very simple perspective viewing system. I tested it by rendering one of the scenes from the starting chapters (which I cover in more detail in the Chronicle #7). I placed the eye point of the perspective system at the coordinate (0.0, 0.0, 500.0) and changed between these 3 viewing distances:
Viewing distance of 200.0
Viewing distance of 400.0
Viewing distance of 800.0
My Journey into OpenGL
Learn OpenGL
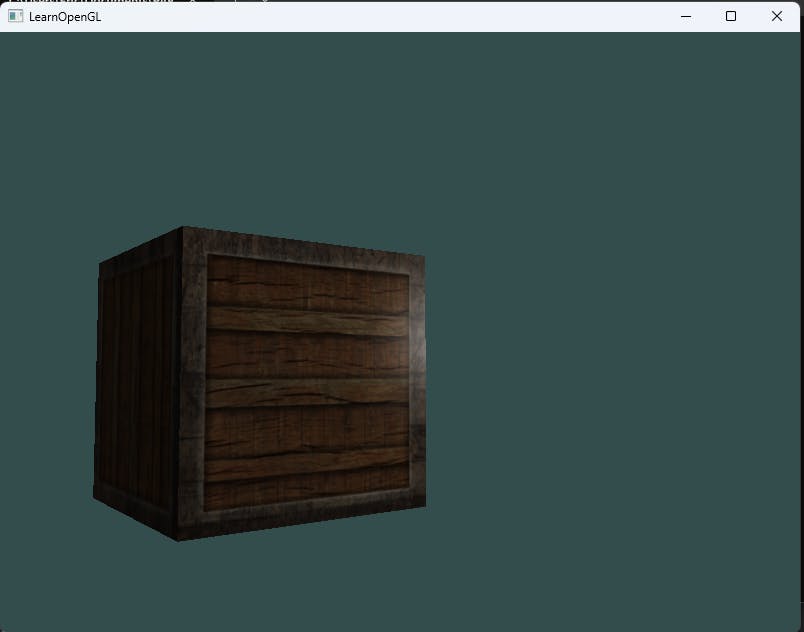
I completed the lighting maps section from LearnOpenGL. In this section I first added diffuse maps to the scene.
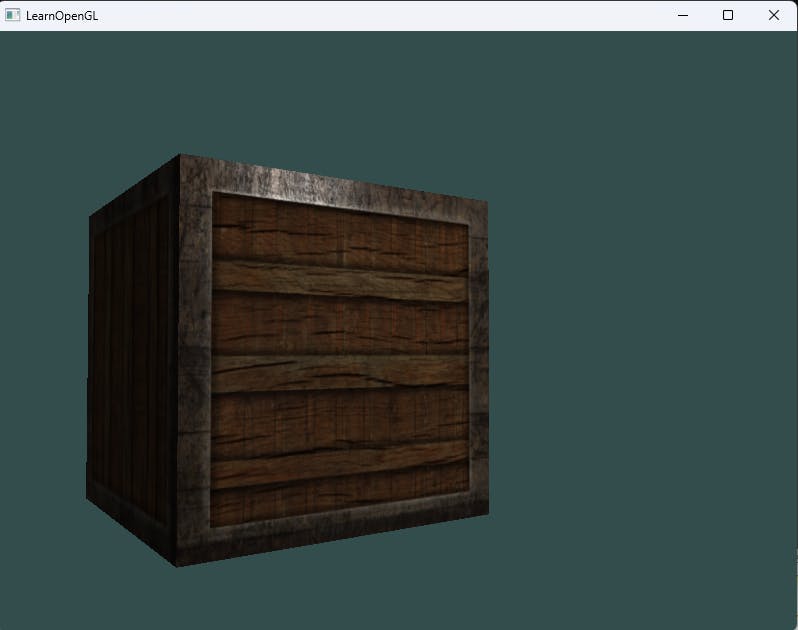
Then I added a specular map which allowed me to define a different shininess for the metallic part of the box.
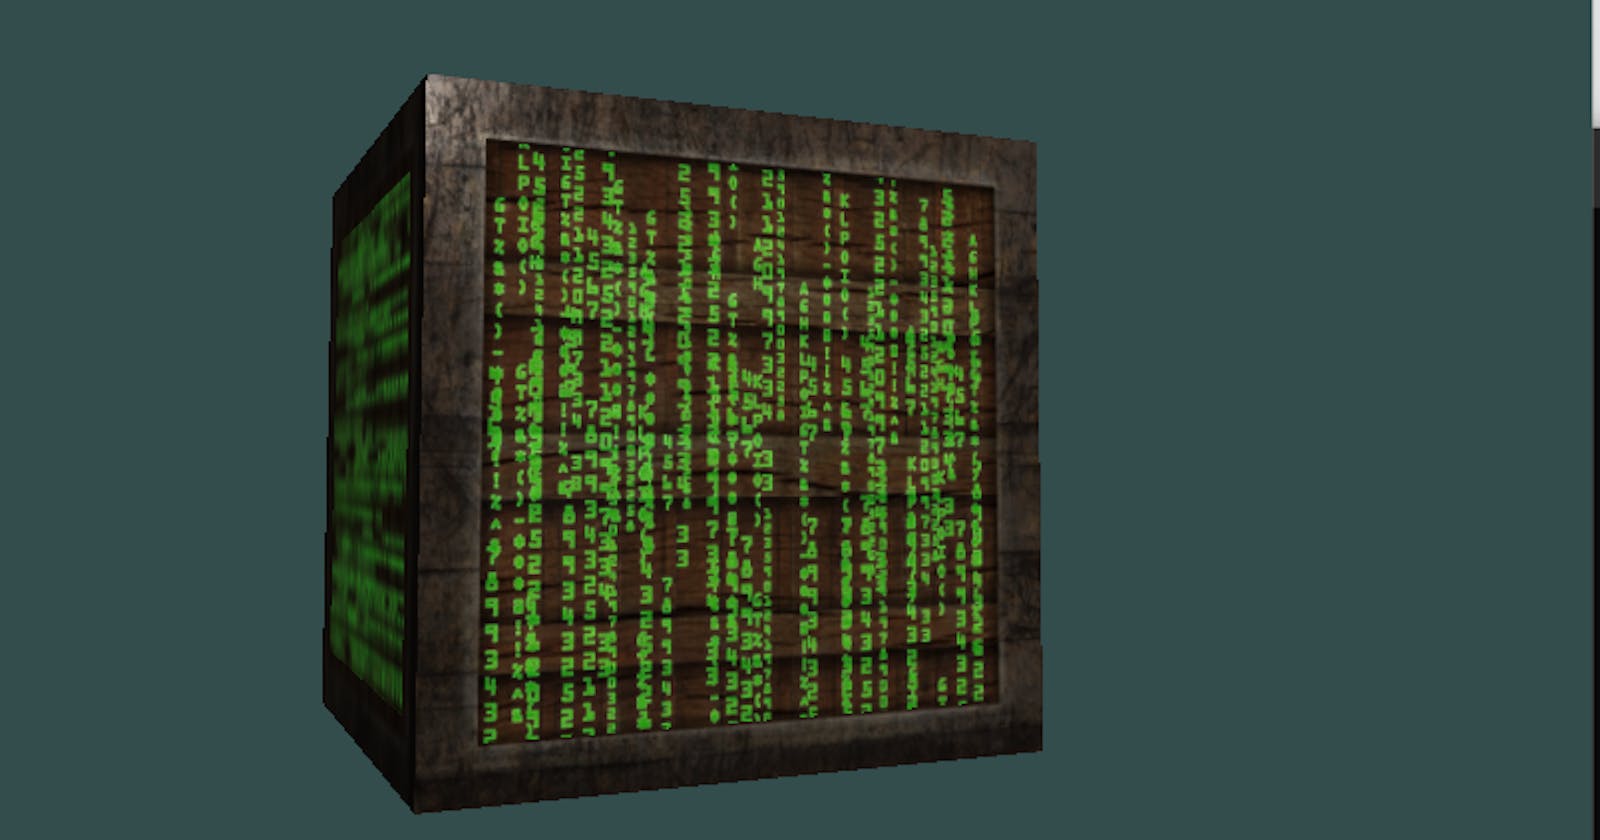
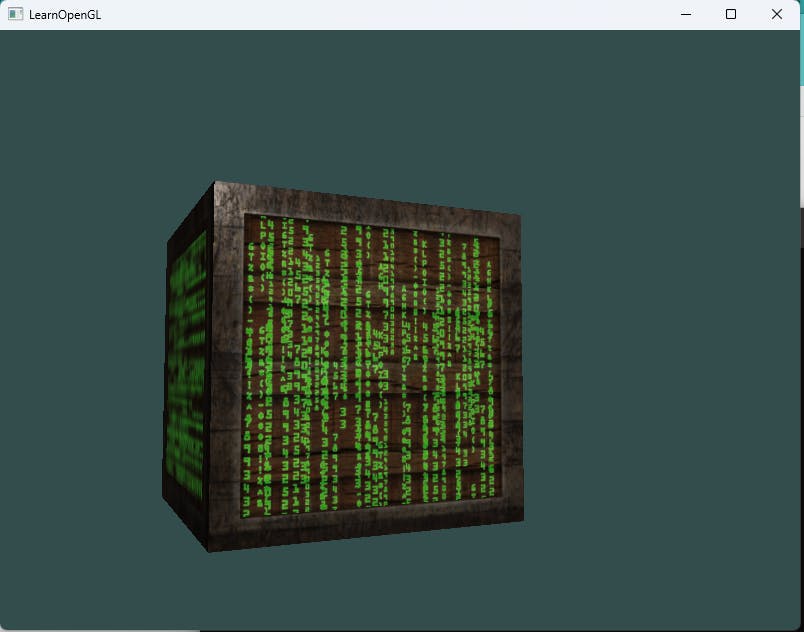
Then I added an emission map which represents textures that are always lit up.
Udemy course
Meanwhile, in the Computer Graphics with Modern OpenGL and C++ Udemy course, I completed some of the lighting sections. First, I added ambient lighting to the scene. Remember that ambient lighting simulates the constant light that is always somewhere in the world (either from the sun, moon, or other distant light).
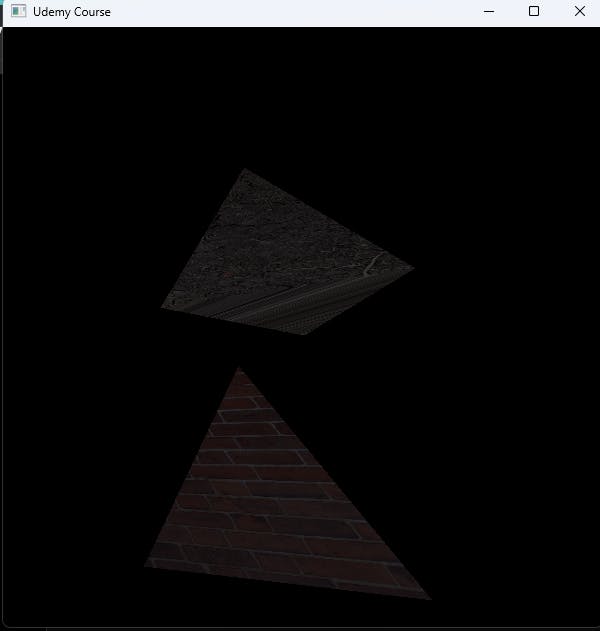
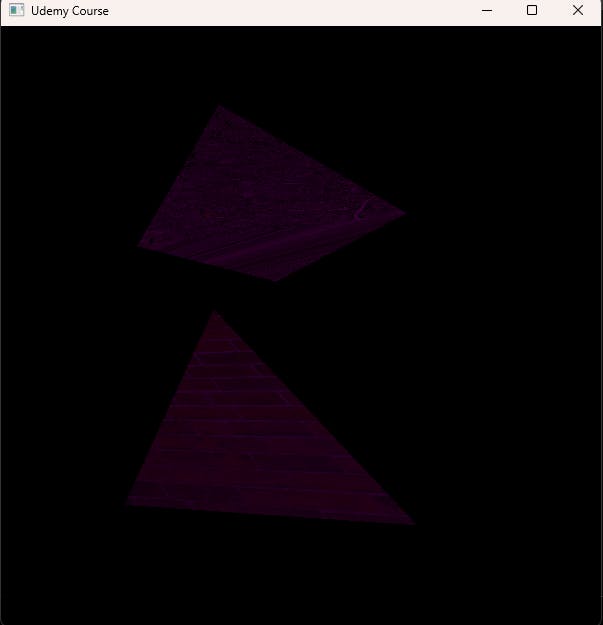
Then I added diffuse lighting. Remember that this type of lighting simulates the directional impact that a light has on an object.
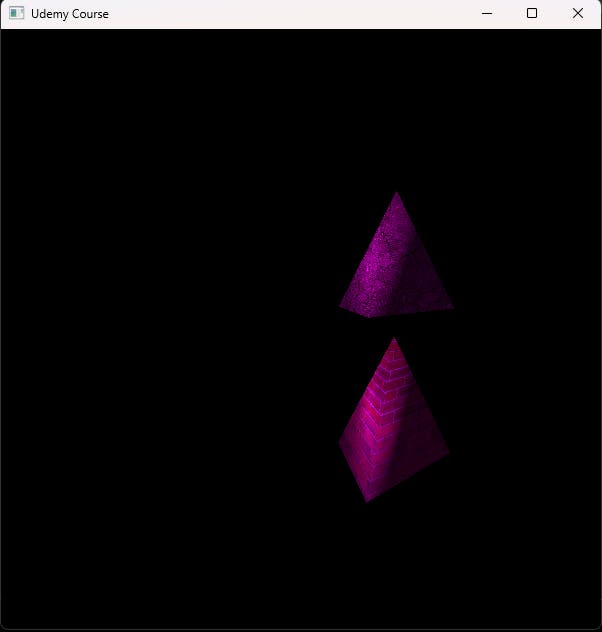
Finally, I added specular lighting. Remember that this type of lighting simulates the bright spot of a light that appears on shiny objects.
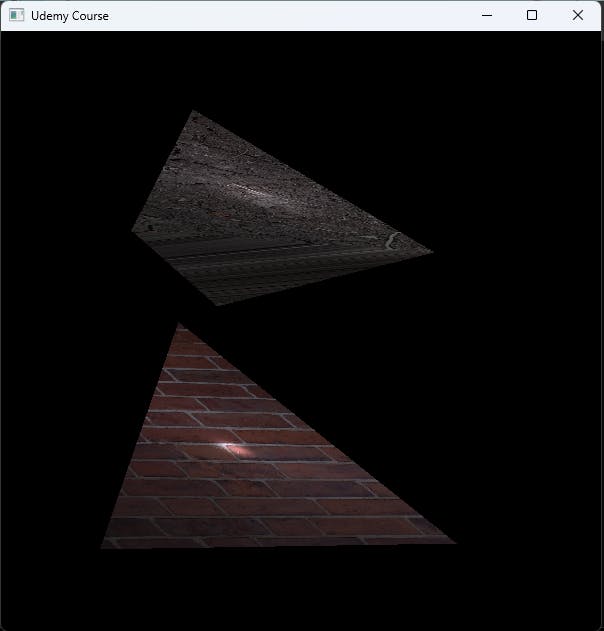
See you soon!
Here are my next goals for each project:
My Journey into Computer Graphics: Finish reading all of the reading resources and complete the practical viewing system exercises from Ray Tracing from the GroundUp.
My Journey into OpenGL: Complete the remaining lighting sections in LearnOpenGL and the Udemy course.
See you soon!
