Overview
Hello everyone, welcome to this week's Computer Graphics Chronicle! This week there are many images and gifs of progress for each project that I can show you. Let's dive right into them!
My Journey into Computer Graphics
This week, I started the meshes project. It has several components to it and I expect that it will take me at least another couple of weeks to finish it. Here are some pictures of my progress:
I created the outline for the report.

For this project, Morgan McGuire (author of The Graphics Codex) advises to start by planning the tasks that need to be done for completing the project. This allows you to think about every step and not just rush into coding, which can end up wasting time.

I made a .off file by hand that generates this cube.

I also added the GUI controls that will be connected to the methods that generate automatically a cube and a cylinder mesh.

The final part of this project is to generate an interesting scene that combines the elements from the previous exercises. I still have to complete several tasks but I took this picture which I'll be using as a reference image for my final scene.

My Journey into OpenGL
This week, I learned about vertex interpolation, using indexed triangles and applying perspective projection. All of this progress was from the Computer Graphics with Modern OpenGL and C++ Udemy course.
First, I reviewed vertex interpolation which blends the values of the vertices and creates a smooth transition between them.

Then I learned that using indexed triangles allows you to specify fewer indices when creating a figure such as this pyramid.

You might have noticed that the illusion of 3D is lost when the triangle is facing the camera. This happens because there is no depth buffering, which is used to represent depth information. This is the result after enabling depth buffering (I also changed the background color for better visualization):

Later, I learned how to apply a perspective projection matrix. This gives a more realistic sense of depth when representing objects in 3D.

The last task I completed for this project was refactoring the code base to make it easier to add multiple objects to the scene.

My Journey into Shaders
Visual shaders
The first task I did for this project was getting an introduction to visual shaders in the 3 game engines that I'm using
Unreal Engine

Unity

Godot

Introduction to Shader Art Coding
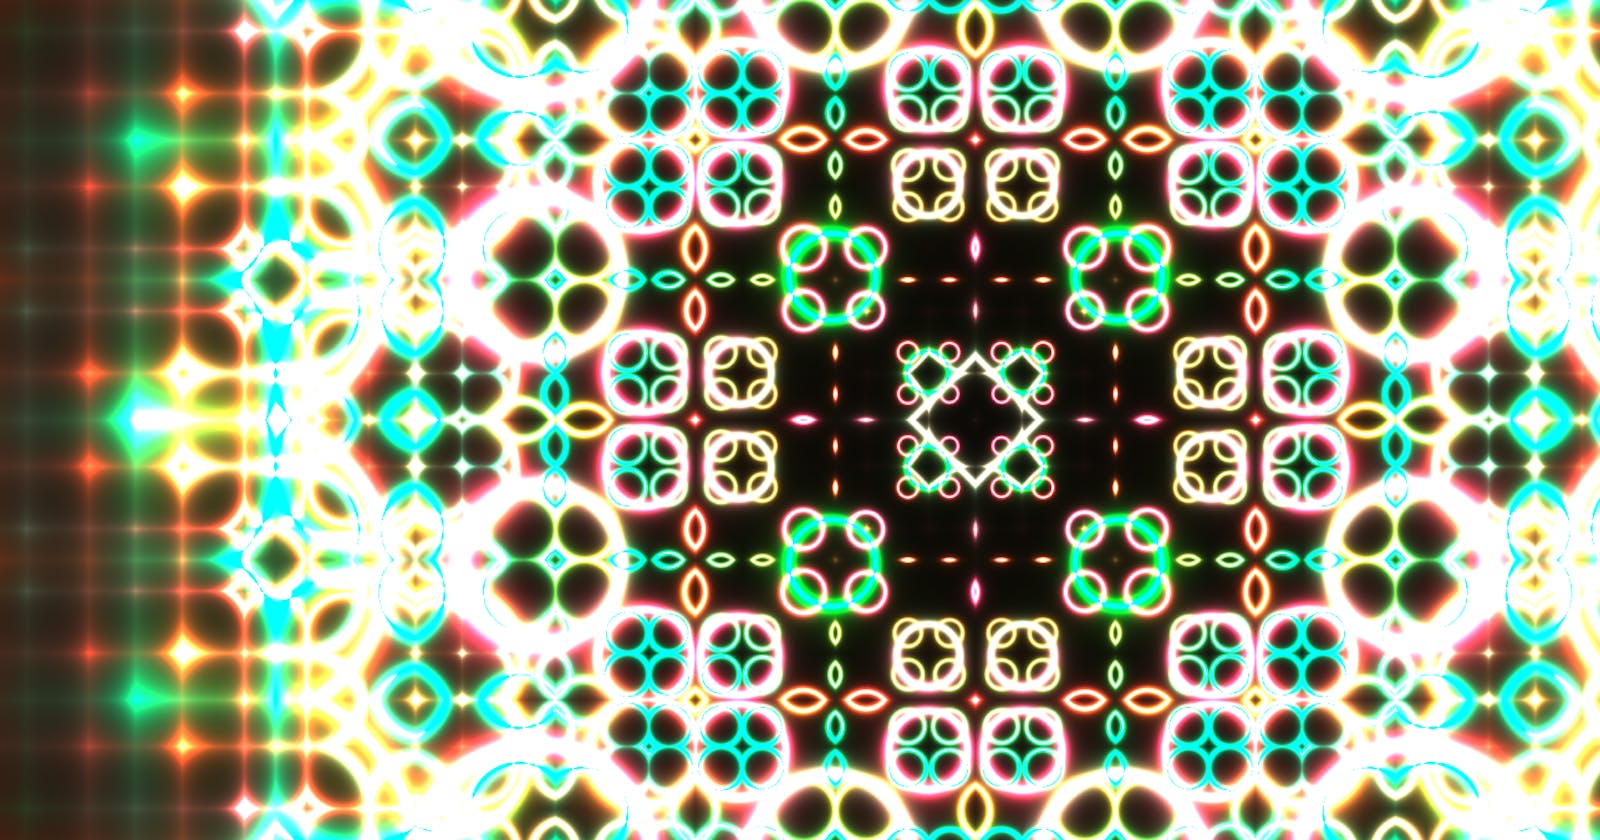
I completed the Introduction to Shader Art Coding tutorial. In this tutorial, I progressively created an animation using different math functions such as sin(), pow(), and exp(). I also completed the shaping functions chapter of The Book of Shaders which further expanded the usefulness of having functions for algorithmic drawing.
The first part of the animation was to progressively go from a black-and-white animated spiral to one with a custom color palette.


Then, the spiral was repeated using the fract() function.

By doing this in iterations, the result becomes more interesting.

Then I added the exp() function.

Finally, I used the pow() function to get the final result.

Here's the complete shader code I added in Shadertoy:

Useful resources
The Introduction to Shader Art Coding tutorial and Shaping Functions chapter from The Book of Shaders contained a set of useful resources which I'll share with you here:
Graph functions in Graphtoy
Learn more about Shadertoy in the unofficial WordPress
Articles for polynomial, exponential, circular & elliptical, bezier and other parametric shaping functions
See you next week!
Here are my goals for next week for each project:
My Journey into Computer Graphics: Continue with the tasks of the meshes project.
My Journey into OpenGL: Complete the coordinate systems tutorials in LearnOpenGL and the camera videos in the Udemy course.
My Journey into Shaders: Implement the shader from the Introduction to Shader Art Coding tutorial in Unreal, Unity and Godot. I'll also start watching the videos on shader math and functions from Ben Cloward's Shader Graph Basics YouTube playlist.
See you next week!
